If you’re in the React world, you already knew this post was coming 😋
If you’d like to see a quick video version of this post instead, just click here.
Here’s the thing, I teach a beginner’s React workshop and javascript isn’t the nicest language to explain concepts in.
To show you the value of hooks, I first have to show you how my workshops usually go.
Keep in mind - the attendees in my beginner workshop are usually folks early in their careers and a lot of them are also self taught frontend developers.
Me: React components are functions that return some JSX (made up javascripty cousin of HTML)
Students: Okay, so the react team made some syntax up, we can live with that.
Me: If we wanted to make a tiny counter, this is what the code would look like:
function Counter() {
  return (
    <div className="App">
      <button>+</button>
      <span className="count">0</span>
      <button>-</button>
    </div>
  )
}
Students: Okay, that looks pretty easy,, how do we make the those +/- button work.
Part 1: Classes
Me: It wouldn’t work until we hook up some logic to it. To add logic, you need to convert this into a class component
Students: Err, okay… what’s a class component?
Me: Class components use the new class syntax and have access to state and lifecycle hooks. We’ll focus on state first, don’t worry about lifecycle hooks.
Students: Umm fine, how do I make this a class component
Me: You declare it with the class keyword which extends base component from React. React will call the render method for you where you can return some JSX.
class Counter extends React.Component {
  render() {
    return (
      <div className="App">
        <button>+</button>
        <span className="count">0</span>
        <button>-</button>
      </div>
    )
  }
}
Students: Okay, that’s not too bad. So we can use all the nice features of inheritance here - like create a BigCounter that extends Counter
Me: Noooo, you should only extend from React.Component, don’t extend that further. We dive into the reasons at the end of the workshop.
Students: Weeeeird, but fine, whatever. How do I add data / state?
Me: Yeah, so you know how classes have a constructor?
Half the students: Oh yeah, just like C/Java/etc. Other half: Absolutely no idea what you’re talking about.
Me: 😅 No worries. In the classes world, each class can have a method called constructor and this is the first method that will be called when a new instance is created.
class Counter extends React.Component {
  constructor() {
    this.state = { count: 0 }
  }
  render() { ... }
}
In the case of this Counter, React will instantiate a new instance for us by calling new Counter(props).
Students: What is this?
Me: The value of this is set to the context in which a function is called. Remember that, we’ll need it soon. In the case of our constructor, it points to the Counter instance.
Students: 🙄 Okay, I didn’t know React was so complicated.
Me: These aren’t even React features. This is all javascript, React just uses a bunch of native javascript features. I know it can be confusing at first, but don’t worry, you’ll quickly get a hang of creating components.
Students: Umm, I’m getting an error about something called super?
Me: Good! In development mode, React let’s you know if you are making any common mistakes.
To have access to this yet, you need to call the constructor of parent class (React.Component). You can do that by calling super.
class Counter extends React.Component {
  constructor() {
    super(props)
    this.state = { count: 0 }
  }
  render() { ... }
}
Half the students: Oh yeah, just like C/Java/etc. Other half: Absolutely no idea what you’re talking about.
Me: Don’t worry if you don’t know why we have to do this, it’s language boilerplate for the most part. We can dig into the details at a later stage or just read this article.
Students: Okay, fine whatever.
Me: Great! Now we can use properties defined in state inside the render method using this.state.count
class Counter extends React.Component {
  constructor() {
    super(props)
    this.state = { count: 0 }
  }
  render() {
    return (
      <div className="App">
        <button>+</button>
        <span className="count"> {this.state.count} </span>
        <button>-</button>
      </div>
    )
  }
}
Students: Okay, it’s working! How do I add logic to the buttons now?
Me: You can add custom methods to your class and change the state inside them, let me show you how:
class Counter extends React.Component {
  constructor() { ... }

  add() {
    this.setState({ count: this.state.count + 1 })
  }

  render() { ... }
}
React gives you a function on this which let’s you change the state. When you use setState, React will call render for you and your UI will update if needed. Isn’t that neat?
Students: Okay, that’s pretty cool!
Me: You can attach this add function by using a onClick handler just like you would do in HTML.
class Counter extends React.Component {
  constructor() { ... }
  add() { ... }
  render() {
    return (
      <div className="App">
        <button onClick={ this.add.bind(this) }>+</button>
        <span className="count"> { this.state.count } </span>
        <button>-</button>
      </div>
    )
  }
}
Remember I told you, The value of this is set to the context in which a function is called. So, don’t forget to bind this function to this when declaring, so that it get’s access to the Counter instance instead.
Students: 
Me: Okay, look there’s this proposal - class fields proposal. It lets you skip all the boilerplate around this - no constructor, no binding, etc.
It’s in stage 3 right now, so browsers don’t support it yet. But, you can use it with a babel plugin. create-react-app already comes with this, so you probably wouldn’t have to configure it yourself anytime soon.
Does anyone know how to compile your code with babel?
Half the students: Oh yeah, I use it with webpack. Other half: Absolutely no idea what you’re talking about.
Here’s what the code looks like after attaching the handlers and using this proposal syntax:
class Counter extends React.Component {
  this.state = { count: 0 }
  add = () => this.setState({ count: this.state.count + 1 })
  subtract = () => this.setState({ count: this.state.count - 1 })
  render() {
    return (
      <div className="App">
        <button onClick={ this.add }>+</button>
        <span className="count"> { this.state.count } </span>
        <button onClick={ this.subtract }>-</button>
      </div>
    )
  }
}
Me: Congrats! You just wrote your first smart React component. Do you feel confident to write another one?
Literally no one in the room
And I don’t blame them, there’s information overload about new concepts like arrow functions and classes from ES2015 while at the same time a revision of some old quirky concepts like this and bind.
Part 2: Hooks!
When I saw the introduction to Hooks:
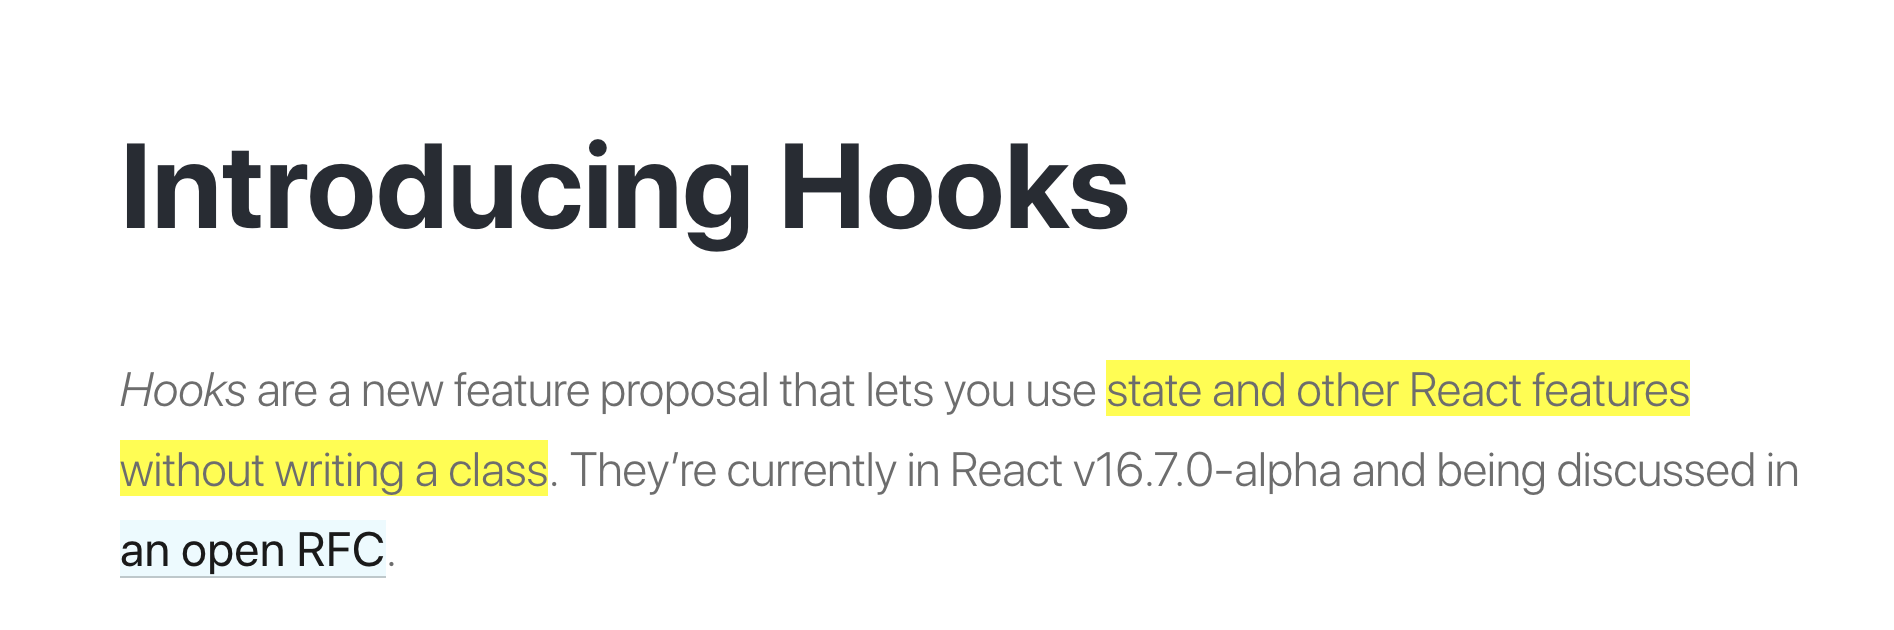
my initial reaction was:

Here’s how the story goes with Hooks:
import React from 'react'

function Counter() {
  return (
    <div className="App">
      <button>+</button>
      <span className="count">0</span>
      <button>-</button>
    </div>
  )
}
Students: Okay, that looks pretty easy, how do we make the those +/- button work.
Me: To add data/state to your component, React gives you a function called useState
You can call this function with the starting value of your data - like 0 for count, and it will return an array with 2 elements - value and a setter function that we can use to change this value.
import React, { useState } from 'react'

function Counter() {
  const [count, setCount] = useState(0)

  return <div className="App">...</div>
}
count is initialised with the value we passed: 0.
Next, let’s write functions that will update the value of count.
import React, { useState } from 'react'

function Counter() {
  const [count, setCount] = useState(0)
  const add = () => setCount(count + 1)
  const subtract = () => setCount(count - 1)

  return <div className="App">...</div>
}
Students: That’s super simple, what’s next? How do we attach them to the buttons?
Me: Just like you would do with HTML, add an event handler with onClick
import React, { useState } from 'react'

function Counter() {
  const [count, setCount] = useState(0)
  const add = () => setCount(count + 1)
  const subtract = () => setCount(count - 1)

  return (
    <div className="App">
      <button onClick={add}>+</button>
      <span className="count">0</span>
      <button onClick={subract}>-</button>
    </div>
  )
}
Students: Wait, is that it? We could have done this on our own. How much are we paying this guy?
Me: 😅
You can see why I’m so excited - I can teach folks how to build applications without having to explain all the quirks and draining their confidence.
We can spend more time learning about styling, state management and tests!
Big disclaimer here:
Hooks are still in alpha, do not use them on production yet.
They are set to release sometime in Q1 of 2019 according to the latest blog post, so you can definitely start playing around with them.
If you want to learn more about hooks, start here:
- React docs: Introduction to Hooks
- Mini course: Refactoring popular Component patterns with Hooks by me!
- Egghead playlist: React Hooks and Suspense by Kent C. Dodds
Hope this was useful on your journey! Sid